 Schedule Service
How to Inspect Your Roof Like a Pro: A Step-by-Step Guide
Master the Art of DIY Roofing Assessment
Protect Your Home Investment Today
Understanding When and Why to Inspect Your Roof
Knowing when to inspect your roofing system is just as important as understanding how to do it properly. Most roofing professionals recommend conducting visual inspections at least twice per year, typically during spring and fall when weather conditions are moderate. These seasonal checkpoints allow homeowners to assess any damage that may have occurred during harsh winter weather or intense summer heat. In Columbus, OH, where seasonal transitions can be particularly demanding on roofing materials, this twice-yearly schedule becomes even more critical. The freeze-thaw cycles common to the region during winter months can cause shingles to contract and expand, potentially leading to cracking or loosening over time.
Beyond scheduled inspections, certain events should trigger an immediate roof assessment. Severe thunderstorms with high winds, hail events, fallen tree branches, or any unusual weather occurrence warrant a thorough examination of your roofing system. Even if no visible damage is apparent from ground level, impacts can create subtle issues that worsen over time if left unaddressed. Additionally, if you notice any interior signs of potential roof problems such as water stains on ceilings, damp spots in the attic, or unexplained increases in energy bills, an exterior inspection should be your first step in identifying the source.
The purpose of regular inspections extends beyond simply finding existing problems. These systematic evaluations help homeowners understand the overall condition of their roofing system, track the progression of minor wear patterns, and plan for future maintenance or replacement needs. By documenting the state of your roof over time, you create a valuable record that can inform decisions about repairs, help with insurance claims if storm damage occurs, and provide transparency when selling your home. Think of these inspections as preventive healthcare for your house, catching small issues before they require extensive intervention.
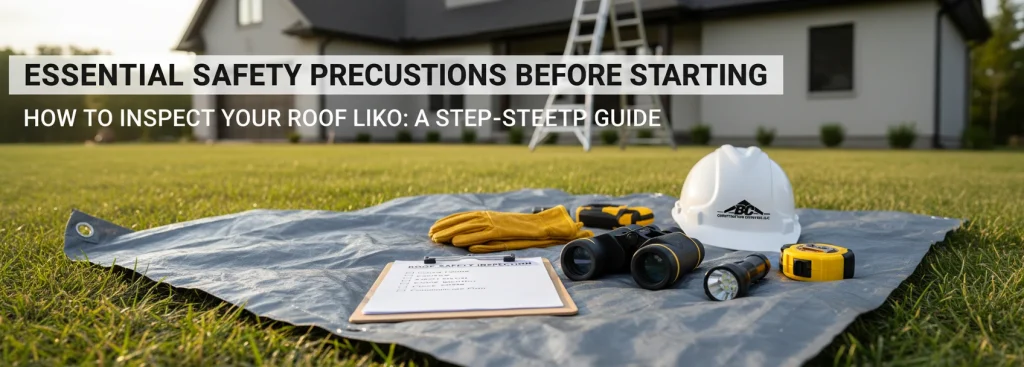
Essential Safety Precautions Before Starting
Safety must be your absolute top priority when conducting any type of roofing assessment. While professional roofers have specialized training, equipment, and insurance to work at heights, homeowners should approach this task with appropriate caution and realistic limitations. The good news is that many critical aspects of a thorough examination can be accomplished from ground level using binoculars or a camera with a good zoom lens. This ground-based approach eliminates the most significant risks while still providing valuable information about your roofing system’s condition.
If you decide that accessing the roof is necessary for a closer inspection, take extensive safety precautions. Choose a clear, dry day with calm weather conditions and moderate temperatures. Wet, icy, or excessively hot roofing surfaces present serious hazards. Wear rubber-soled shoes with good traction, and never attempt an inspection alone. Have someone present who can assist in an emergency and help stabilize your ladder. Use a sturdy extension ladder rated for your weight, and ensure it extends at least three feet above the roof line. Position the ladder on firm, level ground, and consider using ladder stabilizers to prevent slipping or damage to gutters.
However, certain situations absolutely require professional assistance rather than a DIY approach. Steeply pitched roofs, roofs higher than two stories, roofing materials that are slippery or fragile, and any situation involving suspected structural damage should only be assessed by trained professionals. If you have any physical limitations, fear of heights, or uncertainty about your ability to safely navigate your roof, the wise choice is to schedule a professional assessment. BC Construction Services, LLC offers comprehensive inspection services throughout Columbus, OH, providing detailed evaluations performed by experienced technicians who can identify issues that untrained eyes might miss. Their systematic approach ensures nothing is overlooked, and their findings come with professional recommendations for addressing any concerns discovered during the assessment.
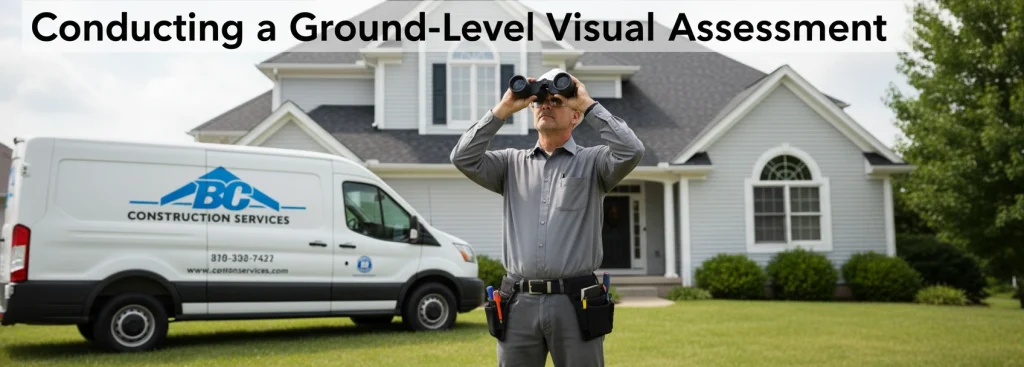
Conducting a Ground-Level Visual Assessment
Begin your assessment by walking the entire perimeter of your home at a comfortable distance that allows you to view all roof surfaces. Use quality binoculars or a camera with optical zoom to examine details that are not visible to the naked eye from ground level. Start by looking at the overall roof profile and shape. Notice if any areas appear to sag or dip, as these irregularities might indicate structural issues with the underlying decking or support system. The roof lines should appear straight and uniform without waves or depressions.
Next, systematically examine the shingles or roofing material covering your home. Look for shingles that appear darker or discolored compared to surrounding areas, as this often indicates moisture retention or algae growth. Check for any missing, cracked, curling, or lifted shingles, paying particular attention to roof edges, valleys, and areas around penetrations such as chimneys and vent pipes. These vulnerable locations tend to show signs of wear before other sections. Notice whether granules appear to be wearing off asphalt shingles, creating smooth, shiny patches that expose the underlying material. This granule loss reduces the shingles’ effectiveness and indicates advancing age or weather damage.
Examine all roof penetrations and flashing carefully. Flashing consists of metal strips installed around chimneys, skylights, vent pipes, and valley intersections to prevent water infiltration. Look for flashing that appears loose, rusted, bent, or separated from the surfaces it is meant to protect. Check the condition of any rubber boots or seals around vent pipes, looking for cracks or deterioration. Inspect chimney structures for cracked or missing mortar, damaged caps, or compromised flashing where the chimney meets the roofing material. Finally, use your binoculars to examine the edges of your roof where it meets the gutters. Shingle edges should be intact and properly aligned, and you should not see exposed roofing felt or decking material.
Inspecting Gutters, Downspouts, and Drainage Systems
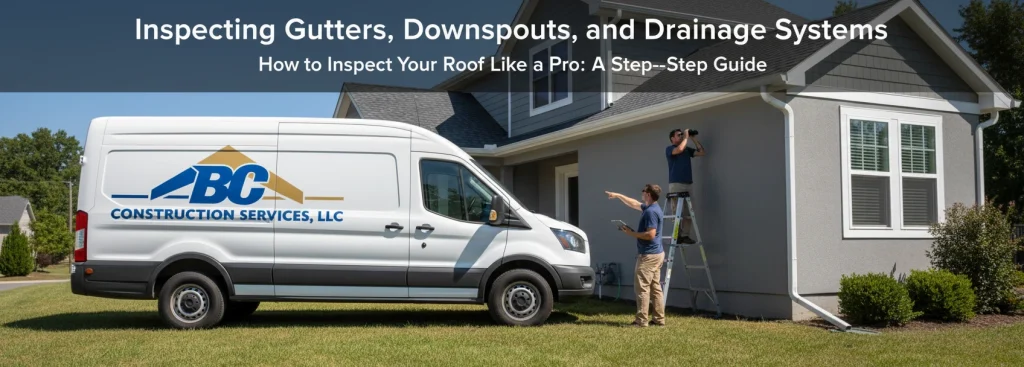
Your drainage system works in tandem with your roofing materials to protect your home from water damage, making gutter and downspout inspection an essential component of your overall assessment. Begin by visually examining gutters from ground level, looking for sections that sag, pull away from the fascia board, or appear misaligned. Properly functioning gutters should be securely attached and slope slightly toward downspouts to facilitate water flow. Look for visible damage such as cracks, holes, rust spots on metal gutters, or separation at seam joints.
Check inside your gutters for accumulated debris such as leaves, twigs, shingle granules, or other material that could obstruct water flow. A significant accumulation of shingle granules in gutters can indicate accelerated wear on asphalt shingles and warrants closer attention to your roofing material’s condition. Clogged gutters can cause water to overflow and run down exterior walls, potentially damaging siding, fascia boards, and even foundation areas. In Columbus, OH, where autumn brings substantial leaf fall and spring rains can be intense, keeping gutters clear becomes particularly important for preventing water backup that can work its way under roofing materials.
Examine downspouts to ensure they are securely attached, properly directing water away from your foundation, and free from blockages. Water should discharge at least four to six feet from your home’s foundation to prevent soil saturation and potential basement moisture problems. Check the ground areas where downspouts terminate, looking for erosion patterns or pooling water that might indicate drainage improvements are needed. Also inspect the fascia boards behind your gutters for signs of water damage, rot, or paint deterioration, as these symptoms often indicate that gutters have been overflowing or leaking. Remember that while you can handle basic gutter cleaning and minor repairs, significant gutter damage, improper slope correction, or complete system replacement are tasks best handled by professionals who can ensure proper installation and function.
Interior Attic and Ceiling Inspection Techniques
Interior inspections often reveal roofing problems before they become visible from outside, making your attic an invaluable diagnostic space. On a bright, sunny day, enter your attic space and allow your eyes to adjust to the lighting conditions. Before turning on a flashlight, look around for any points of light penetrating from the exterior. These light leaks indicate holes or gaps in your roofing system where water can also enter. Pay particular attention to areas around roof penetrations, valleys, and the perimeter edges where the roof meets the walls.
Systematically examine the underside of your roof decking for any signs of water infiltration. Look for water stains, dark spots, or streaking patterns on the wood sheathing. Use your flashlight to illuminate suspect areas and run your hand across questionable spots to check for dampness or soft areas that might indicate rot. Fresh water stains appear darker and may feel damp, while old stains often look faded or yellowish. Even old stains warrant attention because they indicate that your roof has leaked in the past and could do so again, especially if the original repair was incomplete or has since failed.
Inspect your attic insulation for any wet or compressed areas, as these conditions reduce insulating effectiveness and indicate ongoing moisture problems. Check the adequacy of attic ventilation by examining soffit vents, ridge vents, or gable vents to ensure they are not blocked by insulation or debris. Proper ventilation is crucial for regulating attic temperature and moisture levels, particularly during the humid summers common to central Ohio. Poor ventilation can lead to premature shingle deterioration from excessive heat and moisture accumulation. Also examine any visible portions of rafters or trusses for signs of structural stress, including cracks, splits, or sagging. While conducting your interior inspection, also check ceilings throughout your living spaces for water stains, discoloration, bubbling paint, or soft spots that might indicate active or previous leaks. Addressing these warning signs promptly prevents minor issues from developing into major structural problems requiring extensive repairs.
